Painting a 54mm provides some challenges over a normal 30mm model. The larger a surface area is, often the harder it can be to create a smooth blend. One of the ways to get around this is to use an airbrush. Whilst it is not an essential tool for a painter, it certainly makes aspects of painting larger models a lot less time consuming and can create a smoother final result.
I started by preparing the miniature in the usual way, cleaning off mold lines and filling gaps. Fortunately the casting on Rakkir is very good, there was only a couple of very small mold lines to fix, and a little gap filling required around where the cloak joined the torso. I decided not to the use the base that Rakkir is provided with, because I want to have my warband all on the same base to tie them together. The base that is provided with him was also super cool, so I wanted to use it on another project! :)
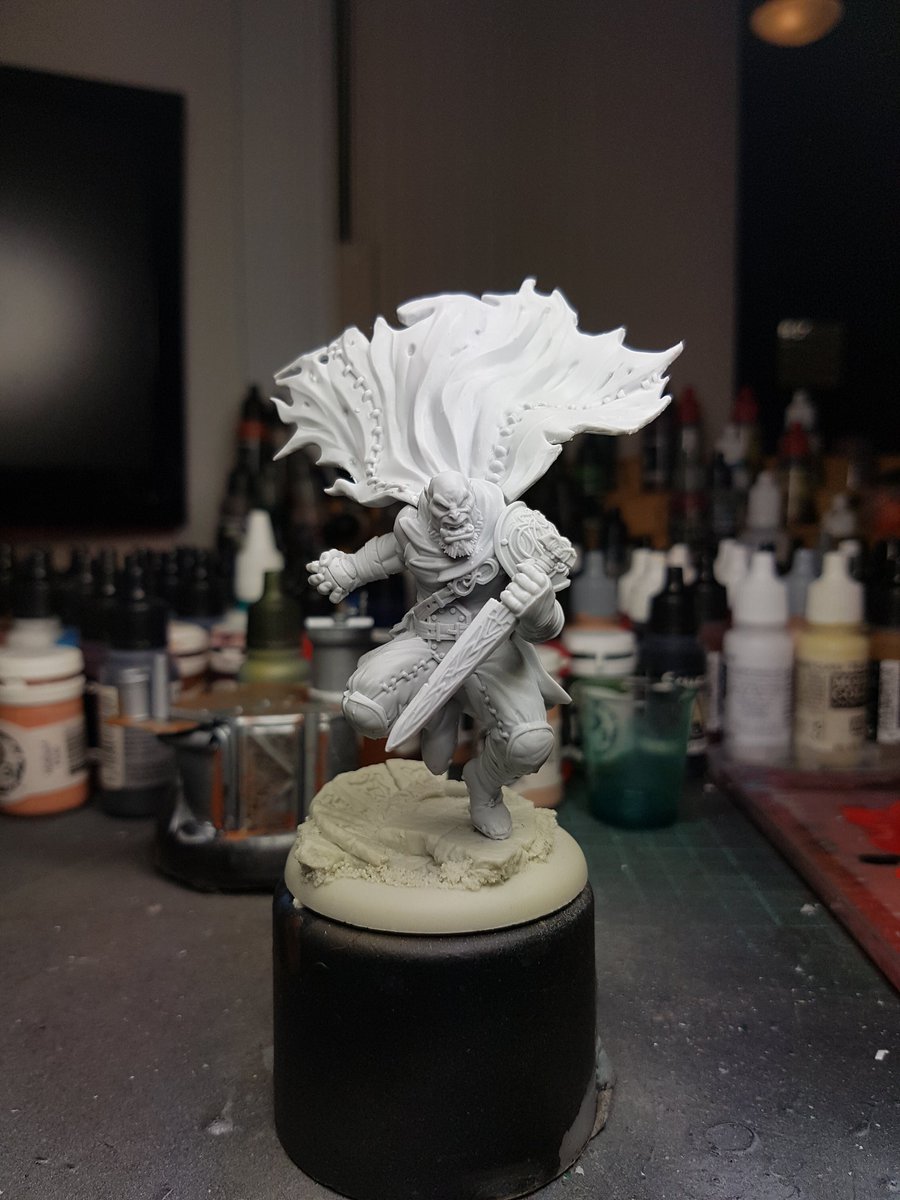
Here he is is, all ready to be undercoated! I use a method of undercoating called zenithal priming. It is a method of creating light and shadow on the model in a natural way to create shading before the painting process commences. First the model is sprayed black, using Chaos Black GW spray, then I used the Vallejo Grey Surface Primer through the airbrush to spray from the top down, creating a natural shadow on the model. You can find lots of information about zenithal priming online, it is a good technique to use when using an airbrush.
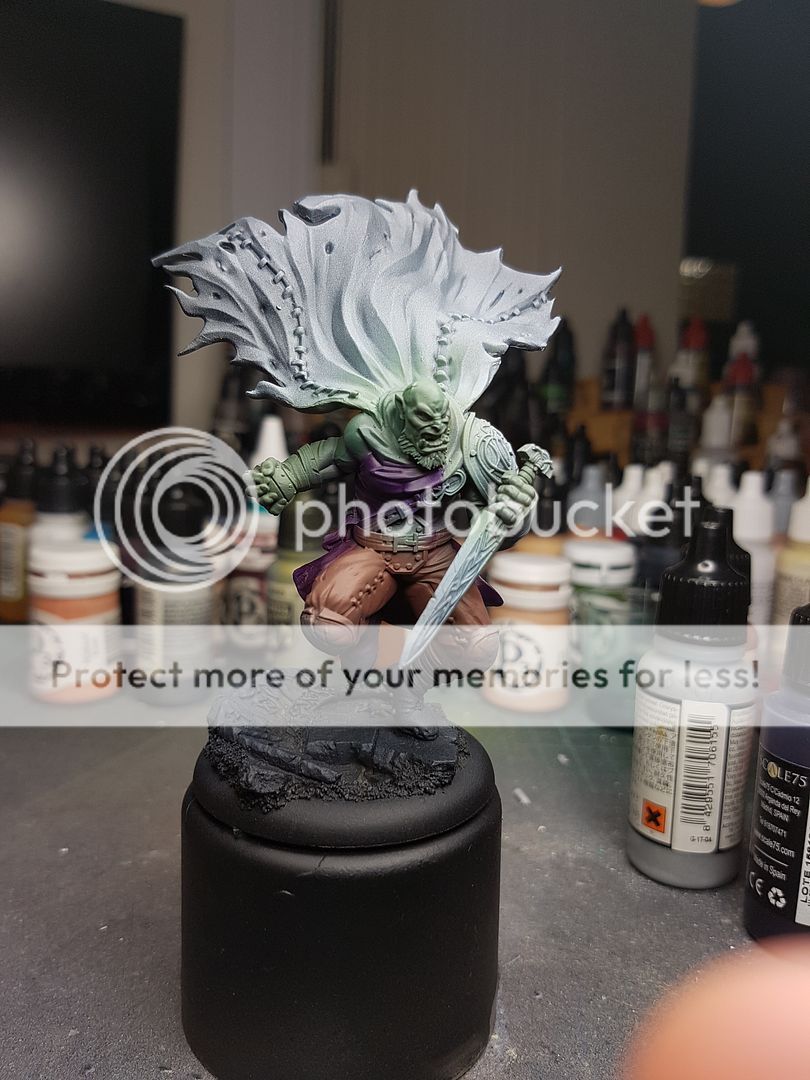
I’ve always painted following the “dressing a model” approach. If you imagine as you paint the model that you start with the skin, then paint each layer as if you were dressing the model. It makes it easier to avoid work you’ve already completed, as the layers get progressively further up on the model. I decided to create some basecoats with my airbrush for the skin. I used a basic dark green and then airbrushed a lighter green over the top. By using thin coats of paint through the airbrush, the zenithal priming impacts the saturation of the colours, brighter over the grey and darker over the black. Here he is after the first round of airbrushing.

I also went in and basecoated his pants with the airbrush using a rust colour. At this stage I am not too worried about getting colours on areas they are not supposed to be on. It is mostly just blocking out the areas of colour to get a feel for what it is going to look like.

Purple for his shirt came next, and this was a little more delicate, making sure I didn’t get too much overspray on the adjacent areas. You could mask these areas off with some blutac if you wanted, but at this early stage I did not bother and just kept the PSI low and made sure I was delicate with my airbrush.
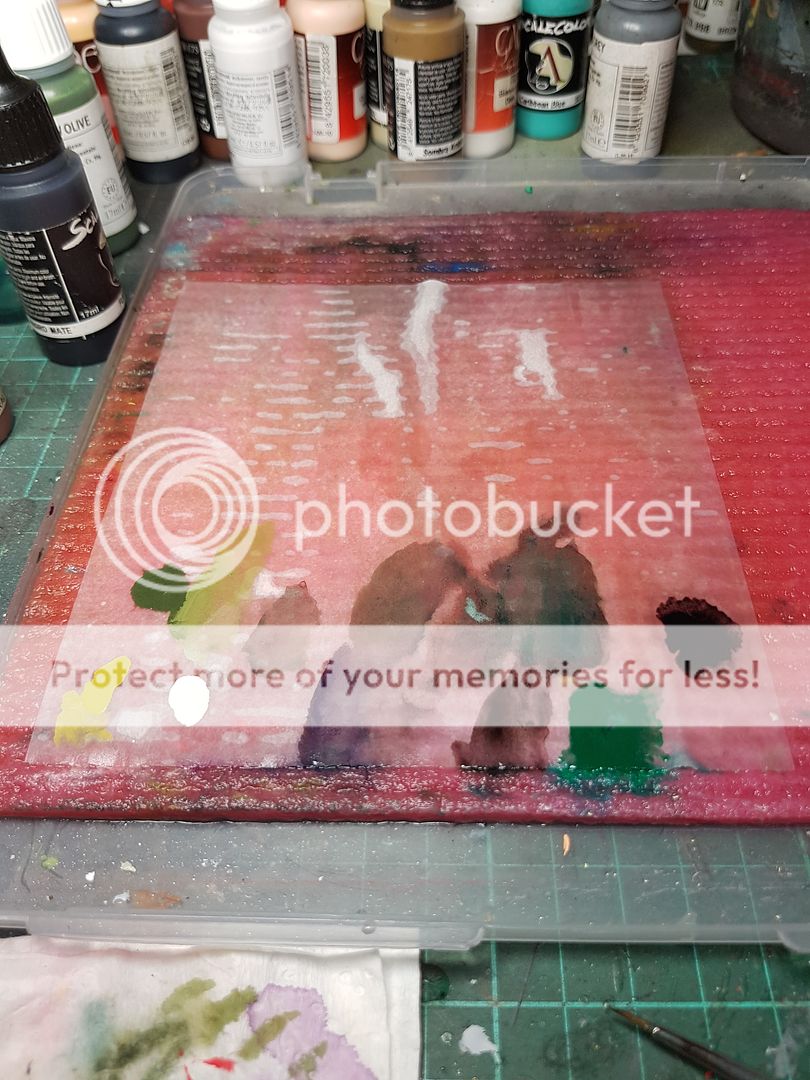
I cleaned out my airbrush and pulled out the brushes to get started on the skin. There is no one good technique for painting something this size, no one trick that will make things immediately look amazing. I use a combination of techniques, two brush blending, layering, washes, glazing, feathering, all working together to try and create a realistic and interesting look. Real human skin when you look at it has translucent layers where you can see veins, imperfections, hairs and all sorts of other crazy things going on. Trying to replicate that in miniature form is difficult, but I try to introduce a few different colours in different areas. You can see here the colours I mucked around with on my palette:
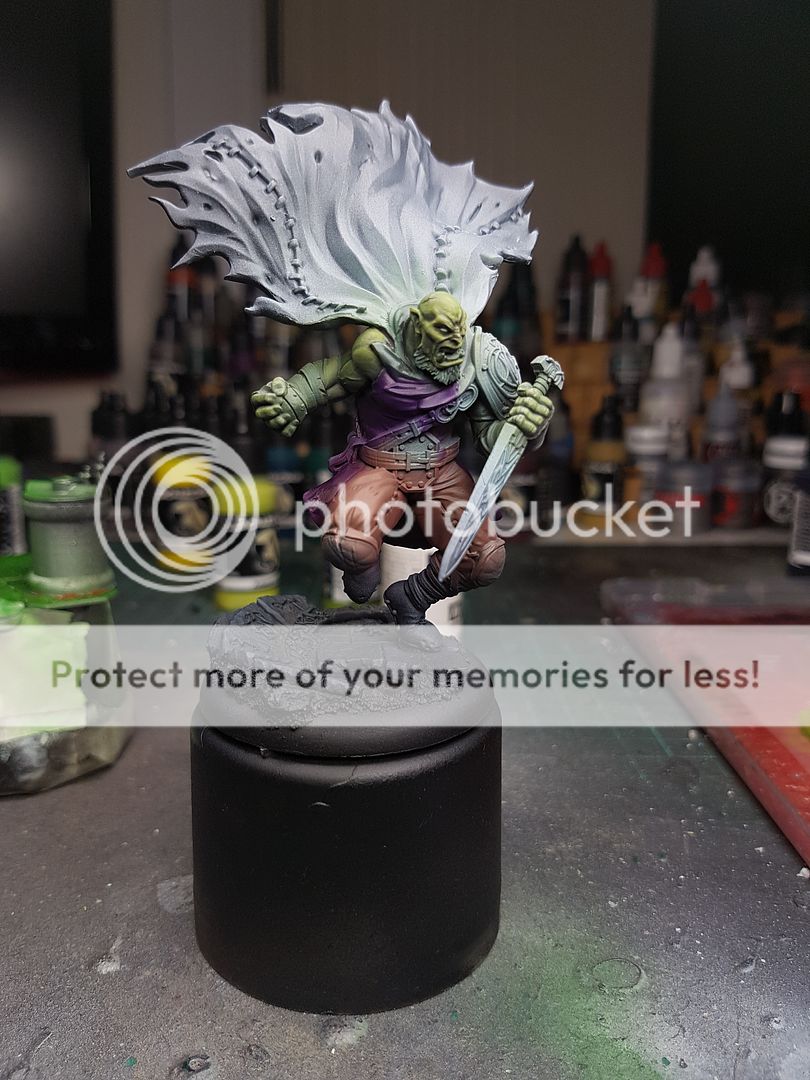
Once I reached a point where I was pretty happy with the skin, I painted in the eyes and began blocking in a few other areas for colour. I highlighted the pants but it was at this point that I started to try to create focus on the central part of the model, the face. By having a much brighter and heavily contrasted face, and much lower contrast and saturation on the other areas, it draws the focus to the face. The pants therefore did not receive as much highlighting as the skin had.

I painted in the rest of the colours to start to see the model take shape. Often I will start with a colour which doesn’t necessarily have a lot to do with the final colour, and for bone I start with this yellow colour first. You still see this colour come through very softly in some areas and it gives some depth to it. But here is the first stage!

As a general process that I like to follow, it is basecoat colour, then wash to create a shadow, rehighlight the basecoat, then a few highlight stages to finish it off. For the wrappings, the boots, the purple, this is exactly the process I followed. I try to use a similar colour to highlight with across a model, mixing in with the base shades. Doing this ties the highlighting together and creates a more harmonious finish.

The next stage for my painting of Rakkir was to try and reach a point where I could see what the model was going to look like. I find it easier to see what areas I need to work on when the model is starting to take shape, and often things like areas that still have primer change how things look. I know it sounds strange, but try this: put your hand on the fridge, and then put it on a black table. The hand stays the same, but because of the colours around it, your perception of it changes. That is kind of what it is like looking at areas of a model that still have primer beside areas that are finished.
I pulled out my airbrush again here. I wanted to make the cloak black, given that Rakkir is an assassin, and it made it much easier to get a smoother coat with the airbrush and saved a lot of time. I also used it to reinforce what I was talking about earlier: changing the focus of the model. I made the areas around the feet and in the recesses darker by passing over them with a few extremely watered down coats of black.
The base was painted and now you can start to see the final Rakkir coming together.

I painted in the metallics, focusing on shading down the metals rather than trying to highlight up. I wanted to put some colour on his cloak, although I wanted it to be a pattern I didnt want it to take too much focus off his face. I started with purple, and using the airbrush I decided to mask off a simple line across the cloak.

I highlighted this purple and some of the black very lightly, then began blocking in the symbol on his cloak.

The symbol itself got highlighted, paying attention to the contours of the cloak.

At this point the model was nearly finished. All that was left was to pick out some of the small details, like the stitching on his cloak. It is a minor thing, the stitching but when it is done it actually brings a lot of the model to life. It changes the cloak from being all black and somewhat lifeless to a lot sharper and more defined. I popped a little bit of green ink and varnish on his dagger, since Rakkir is not against the use of poison when he stabs people, added some blood into the scar over his eyes, and that was it!
A finished Rakkir, ready to hit the tabletop.


You definitely do not need an airbrush to work on a model of this size, you can achieve very smooth and nice blends with techniques like two brush blending, glazing and even just feathering. The trick is making sure you have your paint consistency correct, because on a model of this scale, you will really notice when paint is too thick. It is much better to do three or four thin coats of a colour, rather than one thick one. Focus on the model as a whole, because on something this big you need to have an area that draws the focus, for this model it is his face and upper shoulder area. And finally, have fun! It is supposed to be fun painting something like this, and accepting the fact that it might take a little more time will make the finished product better.
Cheers
Trent
No comments:
Post a Comment