
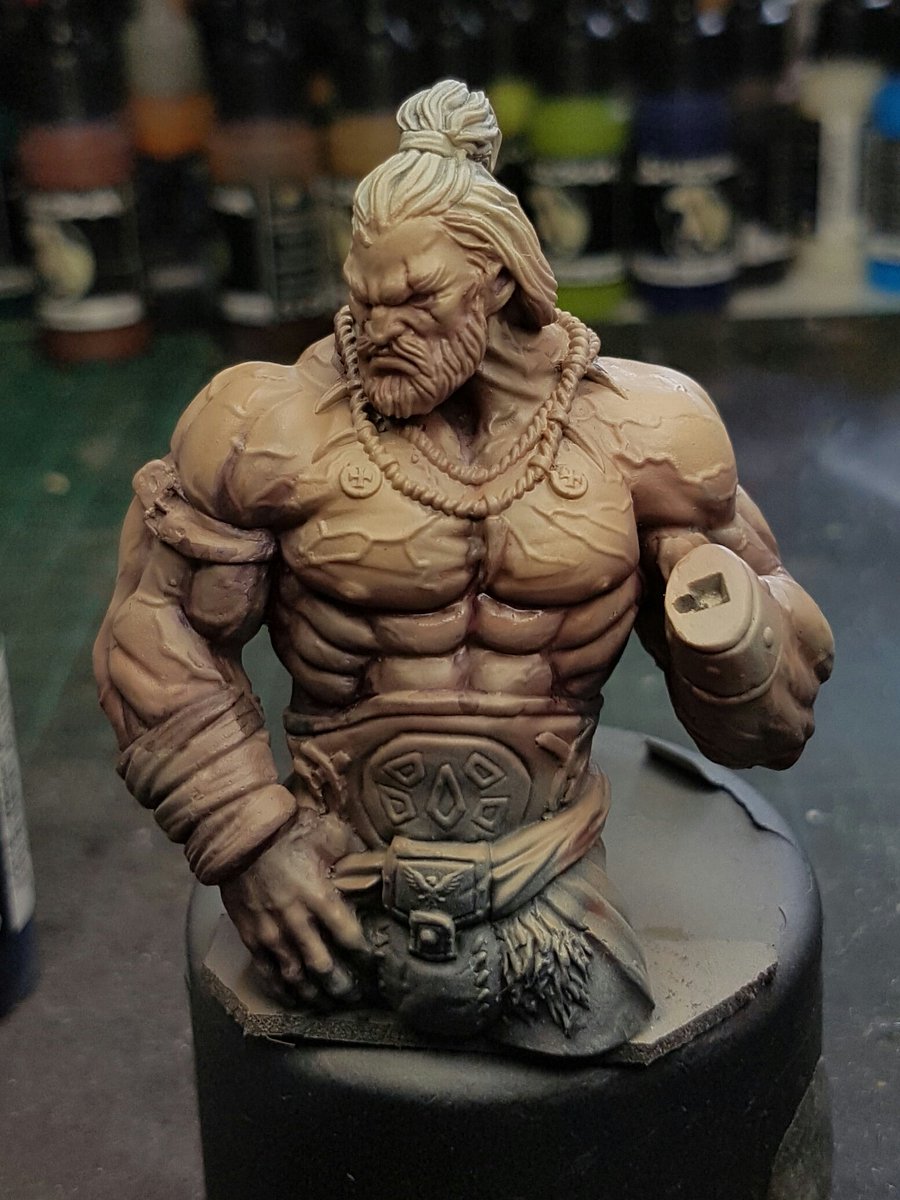
I picked the barbarian dude because he is closest to the model that I painted with Raffa, so I could easily translate the techniques.
I started by undercoating black, zenithal priming and then using my airbrush to lay down some basecoats. At this point I basically forgot everything Raffa said and didn't use a fully opaque basecoat, which I have mad ragrets of. But further reinforced what I needed to do in the future, so that is good.
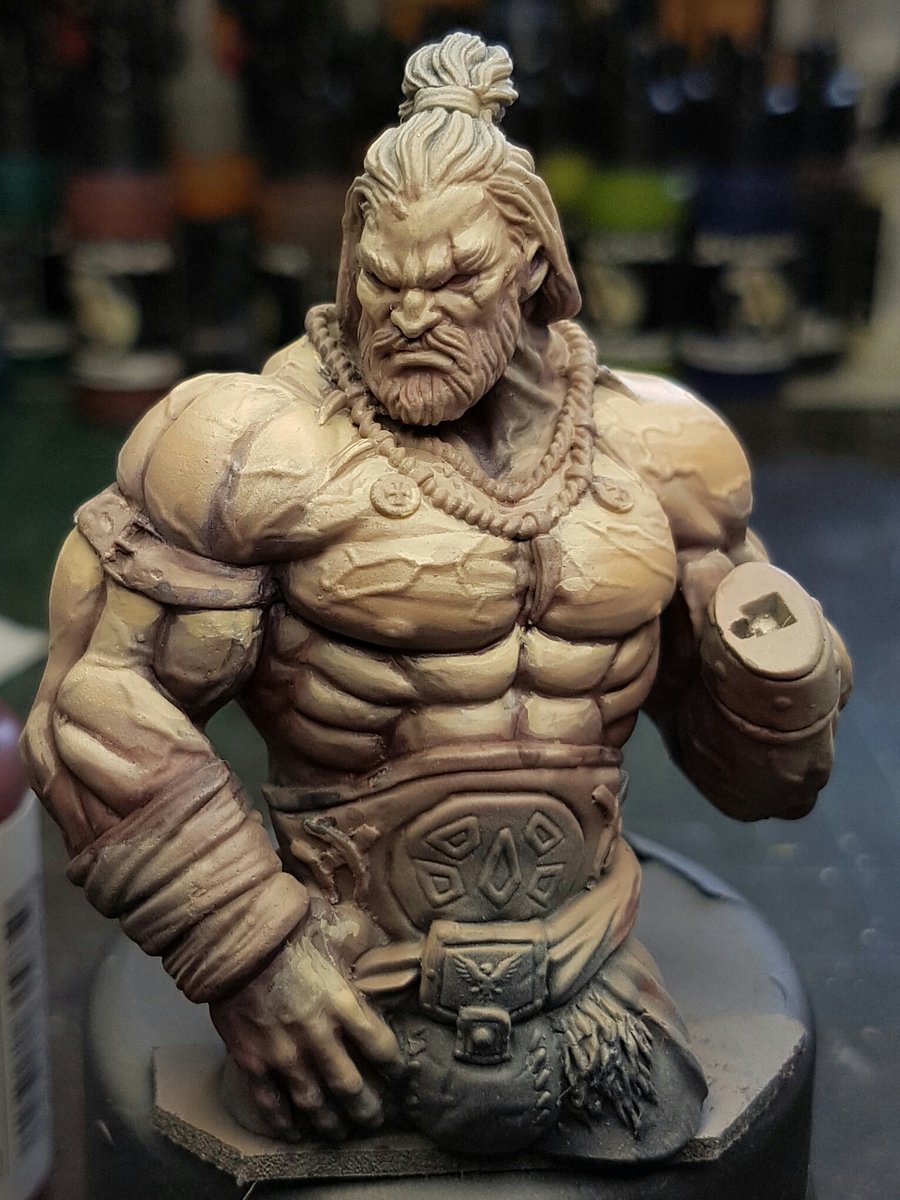
I grabbed my brush and started immediately adding some shades and highlights to the already slightly shaded surface, and with very little effort it started to look quite good. I think more than anything it was the colours I chose which worked well.

I then went in and began more aggressively highlighting, and I was being very direct with the strokes and colours, making sure I really put some opacity into the colours. Mixing in white, and a hint of yellow with my basecoat tone.
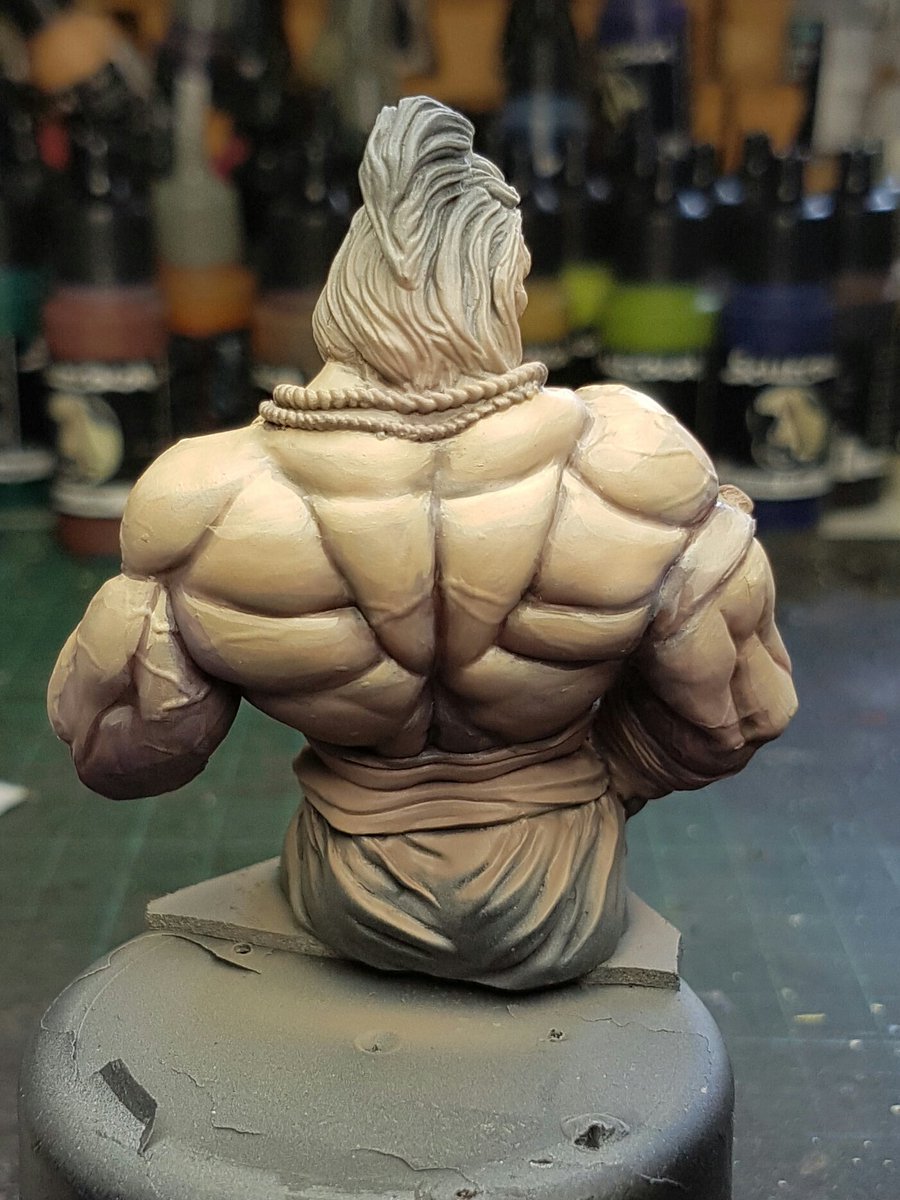
I think at that point I may have done an airbrush glaze to try and soften and bring it all back together, as I was getting some areas of the skin that were not working perfectly.
The next two photos are basically just more work on the skin, adding little textures, painting in some of the veins, more highlighting, adding some more colours in, red, purple, blue and trying to make it look more alive. The anatomical incorrectness of this model was hysterically funny at this point, but because it had such nicely defined volumes I enjoyed painting it.
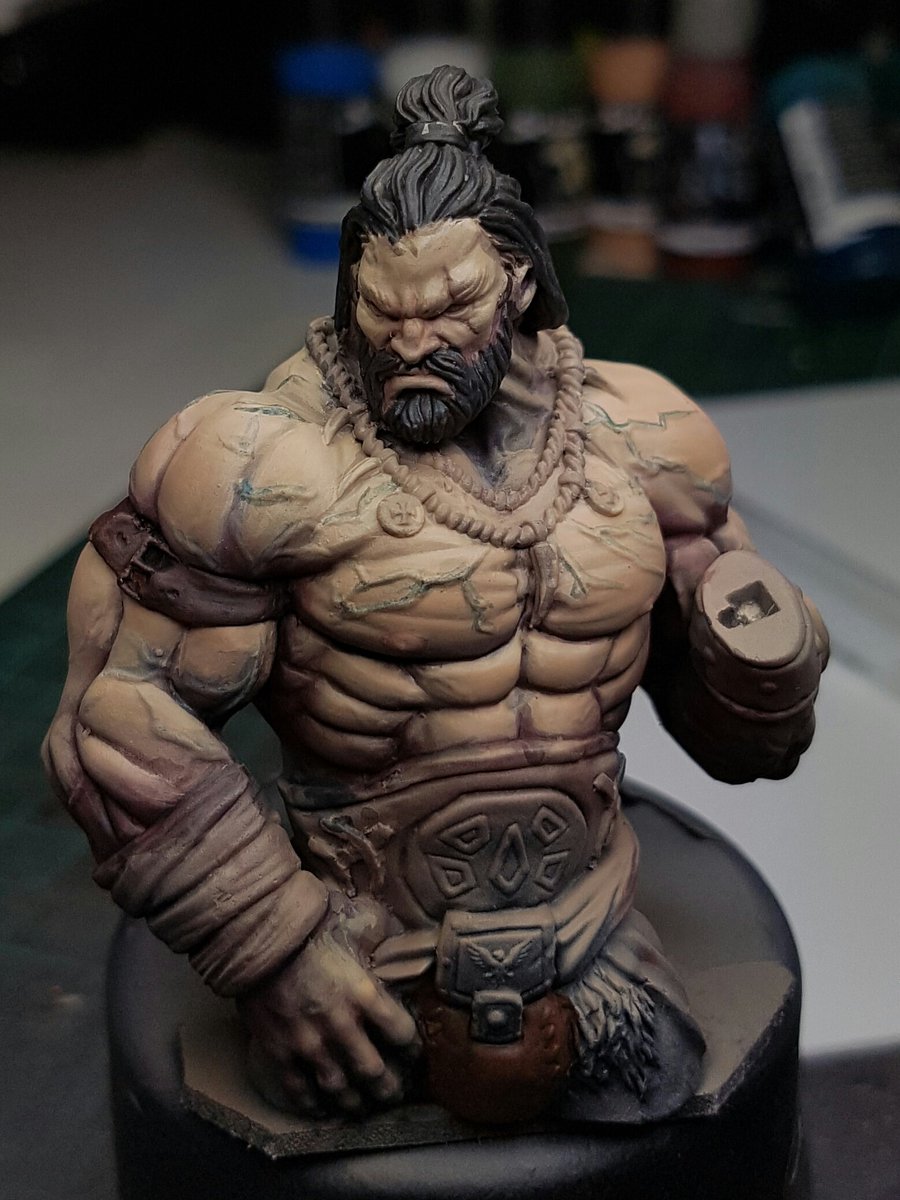

That is where I am up to with this model, and at this point I put him aside to spend some time on a secret project for Crystal Dragon at Cancon. I've put a lot of hours into it already, and still have a long way to go and it is hopefully going to be the best model I've done to date! I have begun preparing the article for this blog, which is a step by step on the construction and painting of the model. I am really looking forward to sharing it with everyone. :)
Cheers
Trent
No comments:
Post a Comment