Here is the progress since the last post on the painting of the girls:


Added the teal to Grandma Haley's cloak.. took a long time to get that cloak looking like that and I feel like it still needs some glazing to soften it out. I am considering the airbrush glazing I did with Kraken, but without the ability to control the overspray as easily... It might be a risk. Still considering it! Baby Haley was pretty basic, just getting the colours where they needed to be on her.

Put these girls on their bases once they reach a point where I was happy with them. Pretty excited about how they look!

This is generally the base colour I start with for my white/ bone colour. I give it a wash of Strong Tone to create some shadows and depth, and the highlight back up through to white. In this instance I actually added another stage where I shaded back into the bone colour with DSB, to further tie the model together, every colour on these models has been shaded with Dark Sea Blue, tying them all together in a subtle way, harmonising the model.

And there you can see the finished bone colour with that shading of DSB. It has actually very quickly become my favourite bone colour I have painted, its got more depth than what I usually paint.
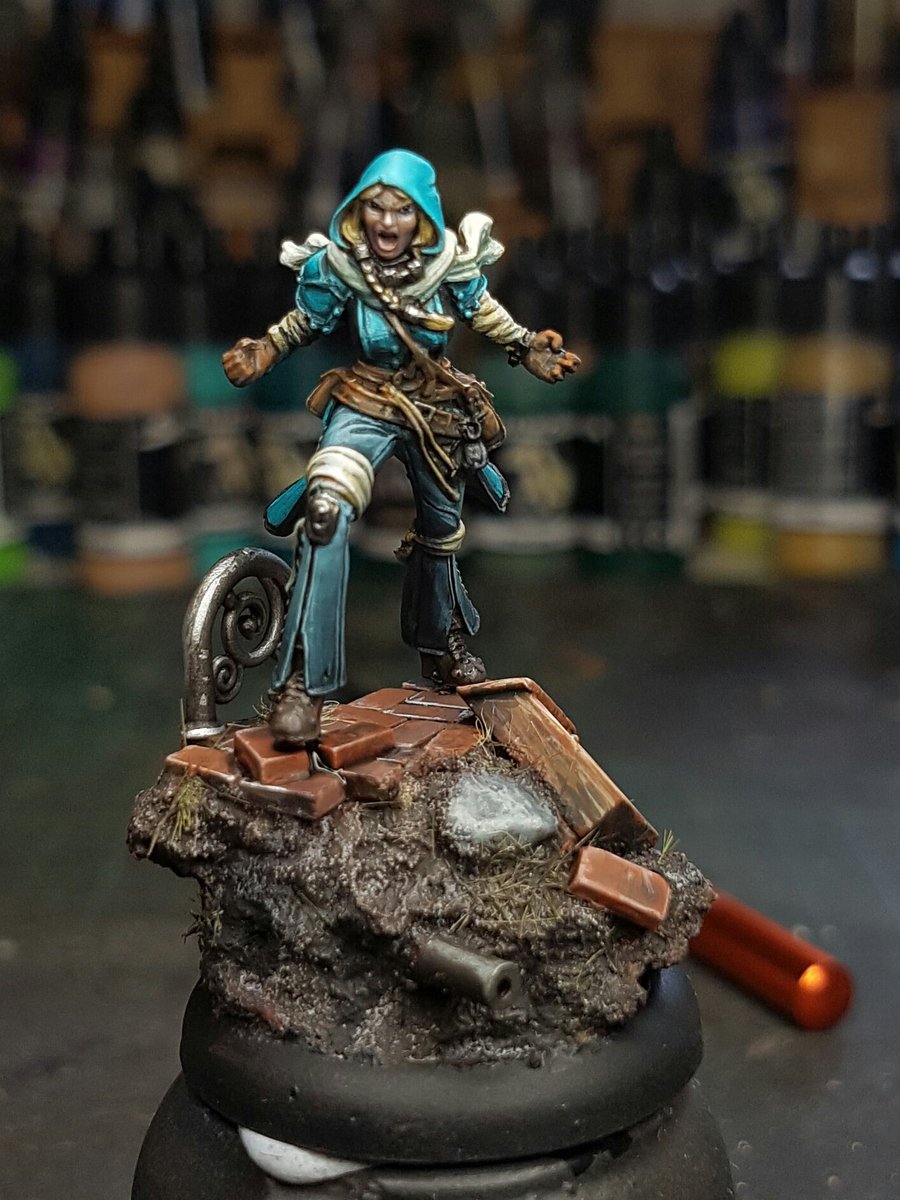
Now to just go back a little bit and discuss basing... you would've seen the early basing attempts in my first blog post on this topic. I have used cork to build up the basic structure of the base, but it does tend to have a very obvious shape. I try to break this up by cutting into it, but after that I add doodads to it to again make it less obvious. I try to work with some different heights usually as well. The final thing I do is add static grass the static flock from Silflor (Mininatur) are fucking excellent quality, I have about 30 different packs sitting on my shelf I can use, in a variety of different textures and finishes.
So, as per usual, I varnished these bases after putting down pigments, and then when it dried I glued down my grass. Here is what they looked like:


For me, this was a big improvement over the bases as they were. However, the client was not happy with this grass addition, and asked if I could try removing it and see how it looked then. Initially I was a bit surprised by this, but his reasoning was very sound: you dont see grass like that in war torn futures. I tried just leaving dead sort of grass on there, and seeing how that looked. Again, client wanted no grass at all!
We tried leaves next, again me scrambling to cover up my obviously cork bases with something to draw the eye...

I dunno about you but I was 100% on board with the leaves. Loved the look, felt it added to the warmth of the bases, but without taking over too much attention. The client again, preferred the bases as they were. I was forced to come to terms with the fact that my bases would need to be polished up without the assistance of external foliage...
But I have actually really come around to the idea. I think I understand the vision now, and it feels like a really good challenge for me to try and simply utilise pigments and paint work to try and make the bases look visually interesting, without taking focus off the model. I am excited for the challenge.
Here is where the ladies are at now:

Reaching the home stretch now with this commission, which is good because I head off to Europe in five days, starting with a trip to Massive Voodoo in Augsburg, Germany!
Cheers
Trent
No comments:
Post a Comment