Out of nowhere I was hit with inspiration to paint this gladiator Minotaur that I have had sitting in my to paint pile. I wanted to try some different coloured skintones, since I have been using a lot of the same skin colours recently.
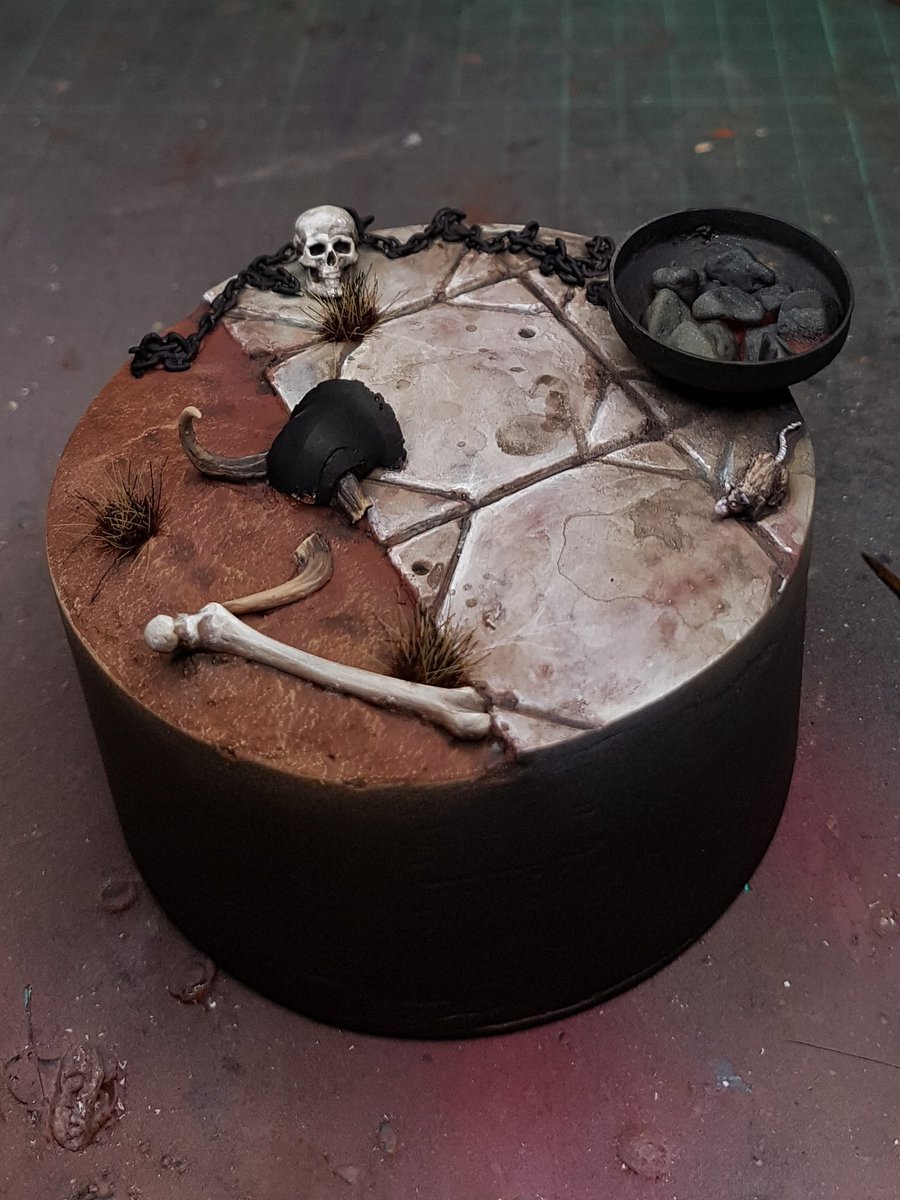
I looked through my box of plinths and found a piece of PVC pipe that I had used for some other projects, and grabbed some putty and plasticard. I drew a design on the plasticard in pencil, scored the surface with an awl and then with my dremel. I glued it down and used putty to fill the other areas of the base. I used some Vallejo Sandy paste to fill in the front, sandy areas. I sanded it down so the edges would be smooth, added some bits I had in my bits box and put it aside while I assembled and puttied up the Minotaur man. This was relatively quick, maybe a few hours in total.


Painting the base! I airbrushed both the tiles and the sand with a few different colours to create some basic volumes, using masking tape and angles of the brush to catch only the front of the tiles. I then used a variety of pigments on the sand, and let some of them bleed over onto the tiles.
The other bits and pieces got painted, I added some grass and then highlighted the tiles, added some washes to tie it all together. I was reasonably happy with this so far, but often I make changes to the base based on how the model looks when it is on there. I plan to airbrush glaze some darker colours on there and also work on the tiles a little more, and possibly add some wetness to it.
Now normally I paint all of the model and then seal it with varnish, and then will go back and paint the metallic areas. I have been really struggling with metallics recently, so I decided to try non metallic metal (NMM) for this piece. It would allow me to spend some time on it before the project was almost finished, and hopefully alleviate that urge I get to call a piece done and rush the last few things.
Unfortunately I've never do it before, so it was always going to be an interesting experiment. When I started painting the helmet, it was the first time I felt lost in painting in a while. I didn't have any idea what to do, where to start, or paint on the highlights or even just how to consider it. I looked at a few pictures, and then just starting painting! Eventually I figured things out, and I got it to the below stage:

Now that I have done it, I have a bit more of an idea how to approach it in future. My biggest issue at the moment is that it looks very cartoony, not like a real metal. I need to start, and have more of the model be a darker value, then sharpen up the highlights much more starkly. But I am happy with this as a starting point.
Next post will talk about starting painting the Minotaur!
No comments:
Post a Comment